If you've ever wondered why some portraits taken outside Vail's aspen groves or along the Gore Range look effortless while others feel flat, the answer almost always comes down to light — not gear. After years photographing portraits and events across the Vail Valley, the biggest lesson I can pass on is this: learn to read the light you already have before you ever reach for artificial lighting.
This guide walks through how altitude light behaves differently, which lenses actually earn their keep for portrait work, the camera settings I rely on for sessions from Vail Village to Beaver Creek, and the small posing adjustments that make clients look like themselves — just more relaxed and more photogenic.
Why Mountain Light Behaves Differently
At 8,000+ feet, sunlight is more intense and more directional than at sea level, especially between late morning and mid-afternoon. That means the "golden hour" window near sunrise and sunset is even more valuable here than in lower-elevation cities, and midday sun needs to be handled carefully rather than avoided outright.
The most reliable move for a beginner or a client-facing session alike: find open shade — under aspens, beside a building, on the shadowed side of a mountain — or wait for the softer light of early morning or early evening. Soft, wrap-around light consistently reads as more flattering than harsh overhead sun, which tends to carve unflattering shadows under the eyes and nose.
Overcast days, common during Vail's shoulder seasons, are often a photographer's secret weapon. The cloud layer acts like an enormous natural softbox, which is part of why fall and early spring produce some of the most consistently even portrait light of the year.
Lens Choices That Actually Matter
You don't need a bag full of glass to shoot strong portraits — you need one or two lenses that do the job well.
A fast prime in the 50mm–85mm range (on full-frame) is the workhorse of portraiture. The wider aperture creates the soft background separation that makes a subject pop against a busy mountain backdrop — whether that's a ski run, a wedding venue, or a downtown storefront. On a crop-sensor body, a 35–50mm lens often lands in that same flattering field of view.
For most client sessions, I stay in the f/2 to f/2.8 range rather than shooting wide open — it keeps both eyes sharp on a single subject while still giving that creamy falloff. Group and event shots call for f/4–f/5.6 to keep everyone in focus.
Camera Settings for Consistent Results
Shutter speed: Fast enough to freeze natural movement — 1/200s or quicker for a posed subject, faster for kids, pets, or anyone in motion.
ISO: Let it float on auto with a sensible cap so shutter speed stays protected; a little grain is far easier to fix in post than motion blur.
Focus: Eye-detection or single-point autofocus, locked on the nearest eye every time. Everything else in a portrait can be a touch soft — the eyes can't be.
White balance: Shooting raw gives room to correct this later, but a slightly warmer setting helps counteract the cool blue cast common in open shade and on overcast mountain days.
The One Accessory Worth Packing
A collapsible 5-in-1 reflector is small enough to fit in a camera bag and does more for outdoor portraits than almost anything else at the price. The white and silver sides fill in shadows on a client's face when they're backlit by mountain sun; the black side can deepen shadows for a more dramatic look; and the diffuser panel turns harsh midday light into something soft enough to shoot through comfortably.
Posing Tips That Put Clients at Ease
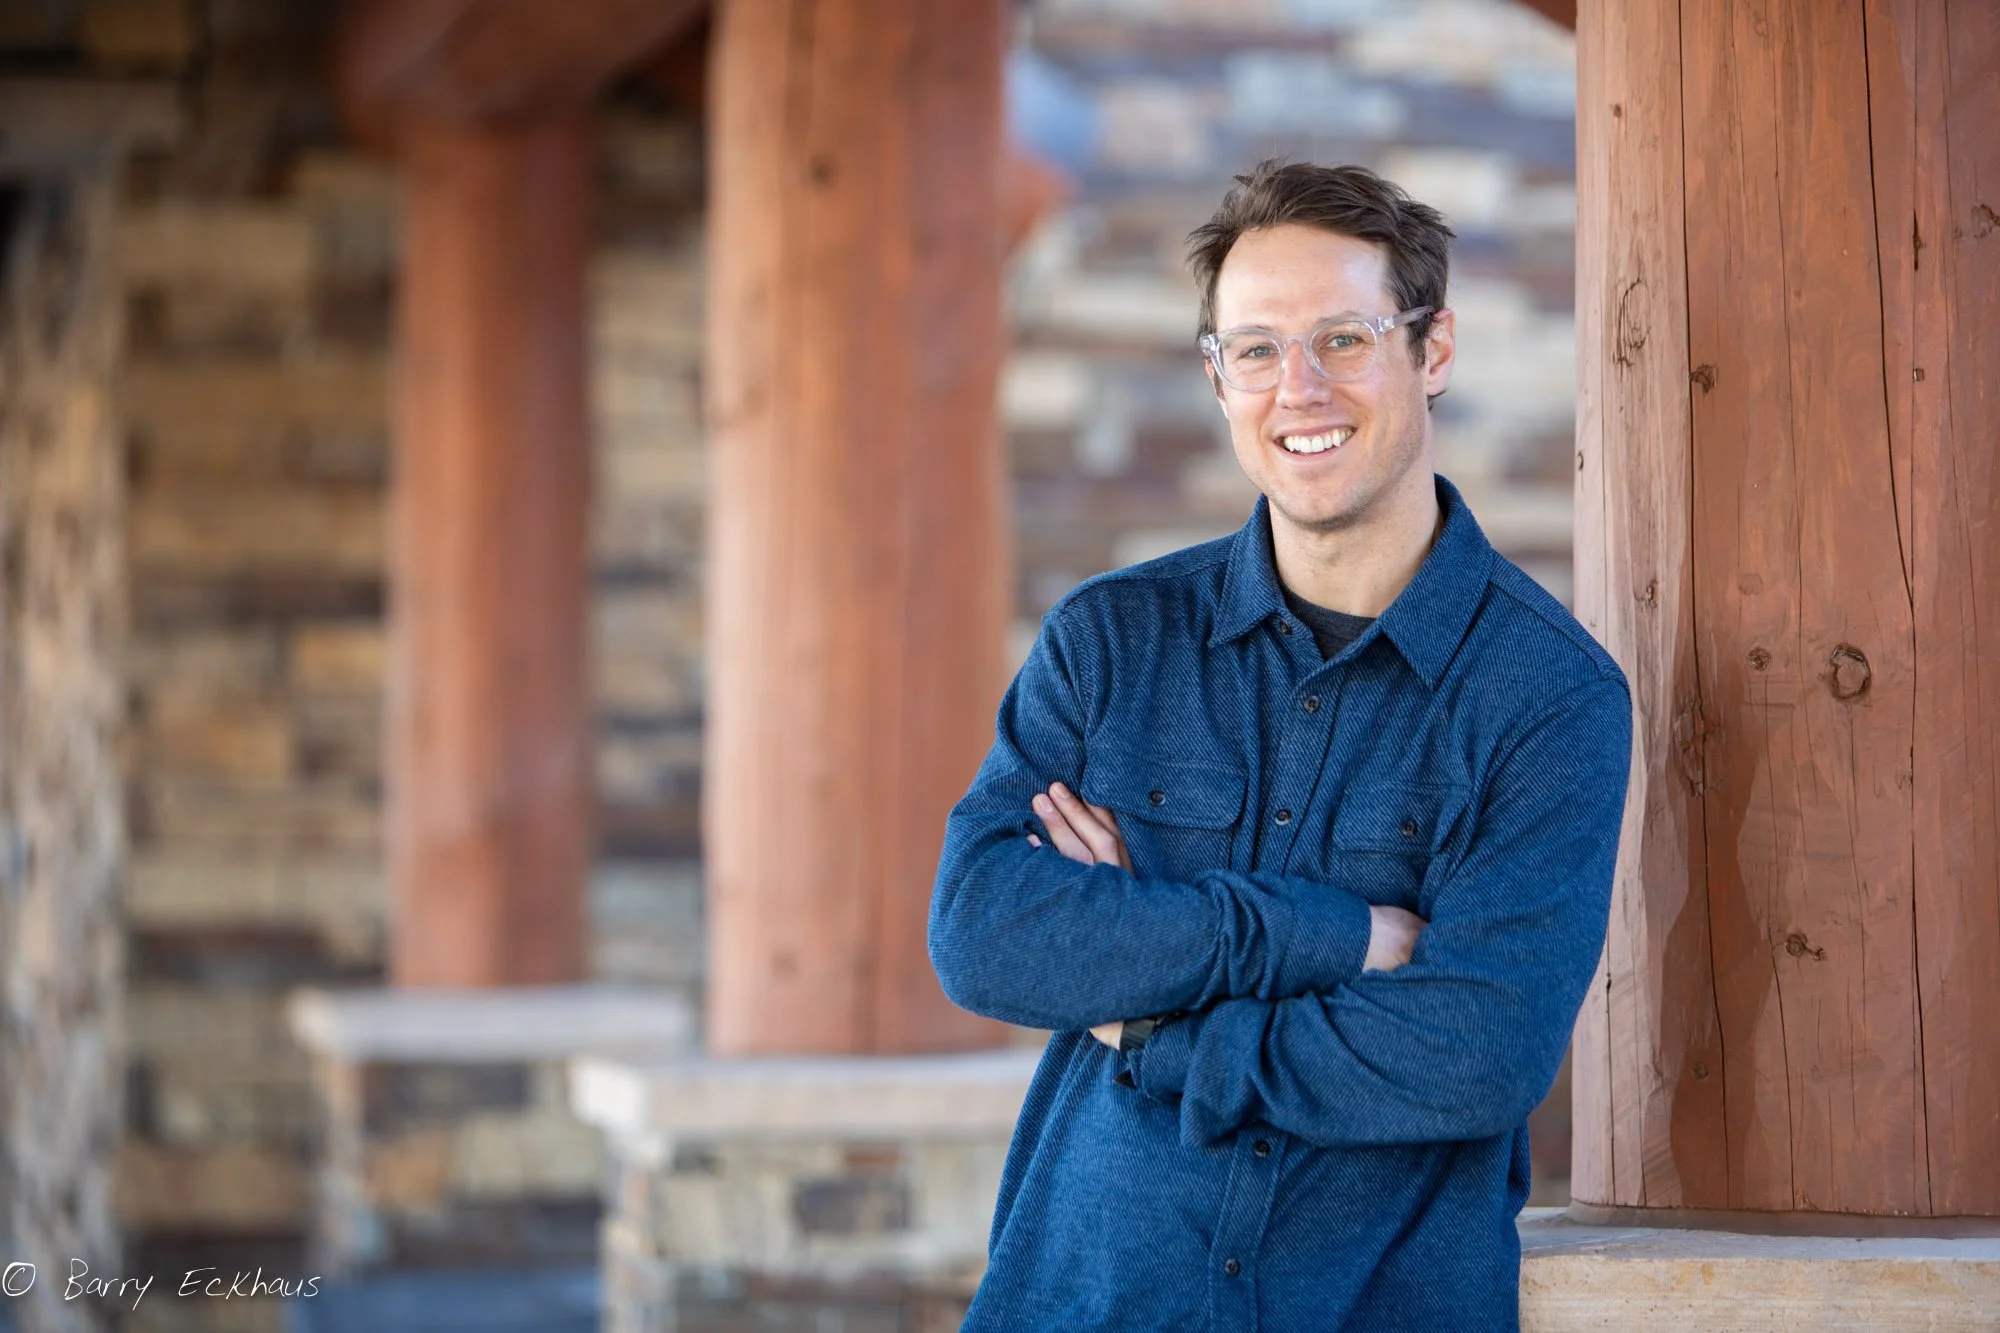
Most people feel awkward in front of a camera. Good posing is really just a handful of small corrections that remove that stiffness:
Turn the shoulders slightly away from the camera rather than squaring up straight-on.
Create a little space between the arms and torso — a hand in a pocket or resting on a hip goes a long way.
Extend the forehead slightly toward the camera while dropping the chin, which naturally defines the jawline.
Give hands something to do — holding a coffee cup, adjusting a jacket, resting on a railing.
Shift weight onto the back foot for a more relaxed standing line.
Keep talking throughout the shoot — genuine expressions almost always happen between the "posed" moments, not during them.
When to Bring in light
Natural and reflected light will cover the vast majority of portrait and event work. Additional light becomes worth adding once you want full control over light regardless of time of day or weather — useful for evening events, indoor receptions, or overcast days needing extra punch. But it's a tool that builds on a foundation of understanding light, not a replacement for it.
Frequently Asked Questions
What's the best time of day for outdoor portraits in Vail?
Early morning and early evening give the softest, most directional light. Overcast days work well any time, since cloud cover diffuses harsh sun.
Do I need a professional lighting setup for mountain portraits?
No. a single reflector and a good understanding of natural and open-shade light will produce professional-quality portraits for most sessions.
Why do portraits taken at midday often look harsh?
Direct overhead sun at altitude creates strong shadows under the eyes, nose, and chin. Moving into open shade or waiting for softer light solves this without any extra gear.
---
*Based in Vail, Colorado, and available for portrait and event photography throughout the Vail Valley.*